To hatch eggs successfully, you need to control temperature, humidity, and turning. Maintain a steady temperature around 99.5°F and keep humidity between 50-55%, increasing slightly during hatch. Regularly turn eggs 3-5 times daily to promote even development. Proper ventilation and routine checks are essential to prevent issues like mold or embryo death. Mastering these factors will help you improve hatch rates; explore further to learn detailed tips on each aspect.
Key Takeaways
- Maintain a steady temperature of around 99.5°F (37.5°C) for optimal embryo development.
- Keep humidity levels between 50-55%, increasing slightly during hatching.
- Regularly turn eggs 3-5 times daily to prevent yolk sticking and promote even growth.
- Consistent monitoring and calibration of incubator controls prevent fluctuations that can harm embryos.
- Incubation duration for chicken eggs is approximately 21 days, requiring stable conditions for successful hatching.
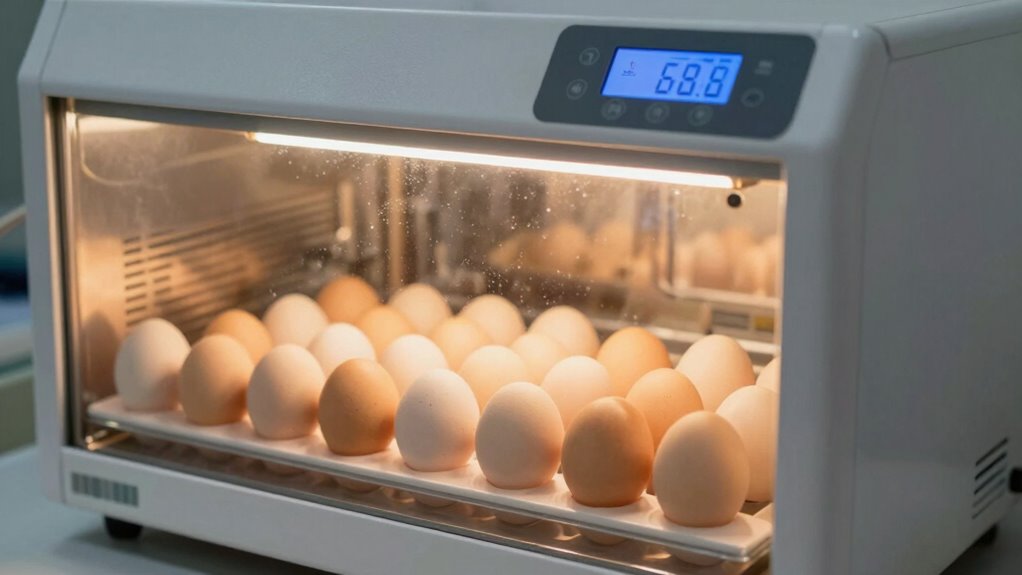
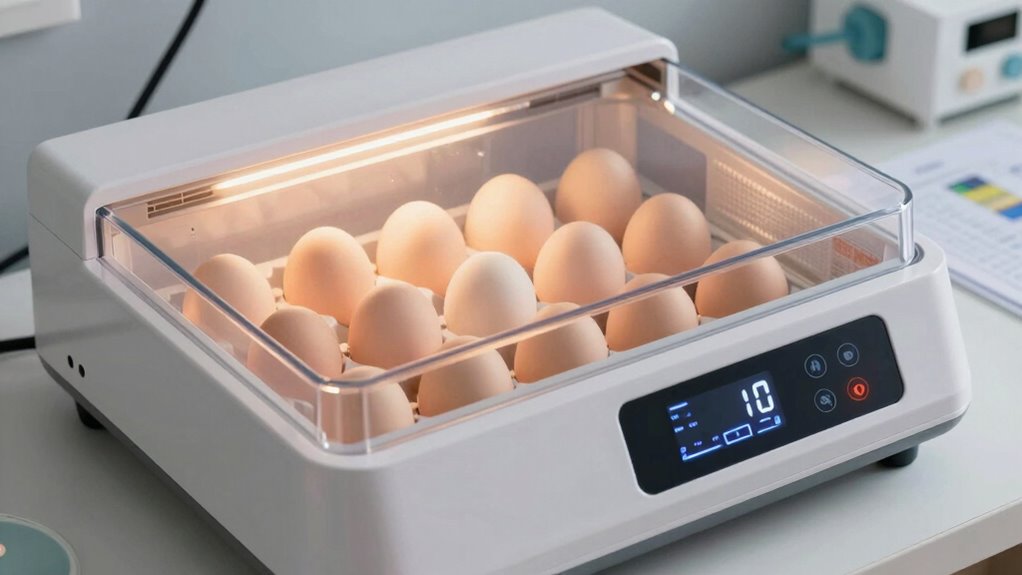
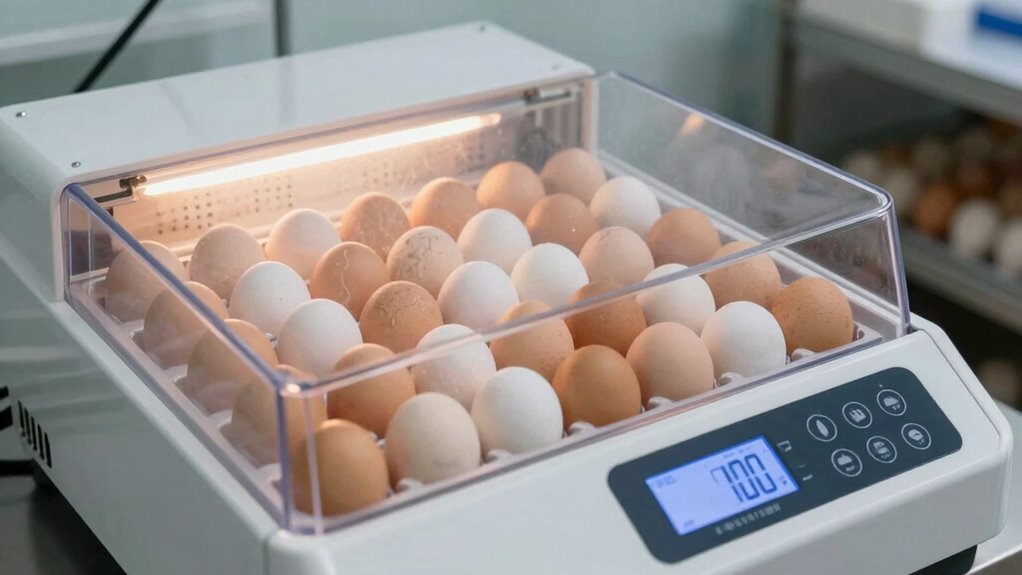
How Do Egg Incubators Work? A Basic Overview
Egg incubators are devices designed to create the ideal environment for eggs to develop into hatchlings. They regulate temperature and humidity, mimicking a mother hen’s care. You might have heard incubation myths suggesting you need to turn eggs constantly or keep them at a specific temperature, but understanding how they work clears up these misconceptions. Egg candling plays a vital role in monitoring development inside the shell, allowing you to check if the embryo is growing without disturbing it. Incubators keep eggs warm and evenly ventilated, providing the right conditions for development. Properly calibrated incubators with accurate temperature control are essential for a successful hatch. Maintaining consistent conditions is crucial for embryo health, and modern incubators often include advanced monitoring systems to ensure optimal environment regulation. Regular humidity regulation is also key to preventing the egg from losing too much moisture, which can affect hatch rates. Additionally, understanding the natural incubation process helps in managing the environment more effectively for better hatch outcomes. Using reliable power sources and energy-efficient appliances can help maintain stable conditions during incubation, especially in areas prone to power fluctuations. Knowing how the process works helps you avoid common mistakes and guarantees a healthier hatch.
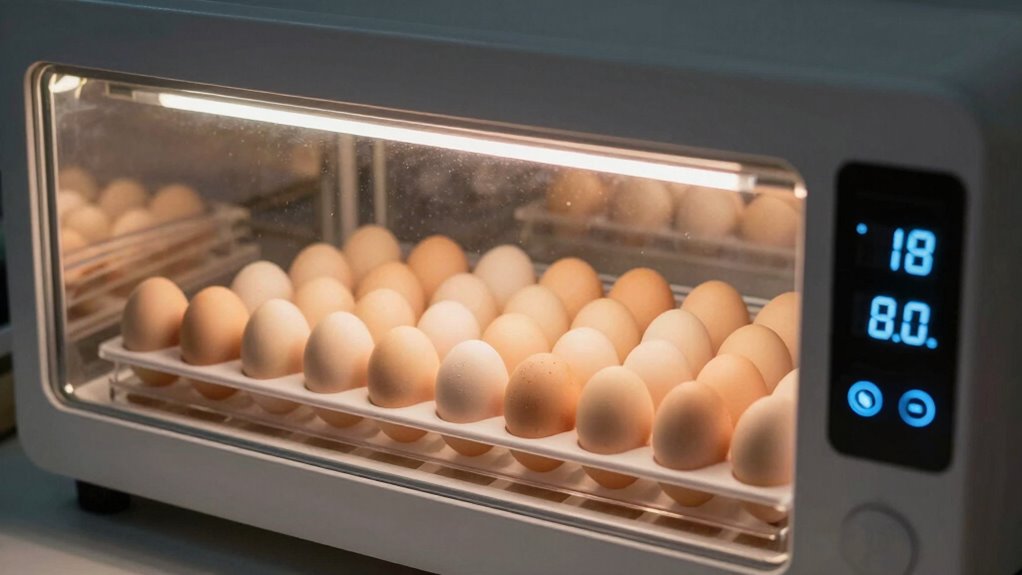
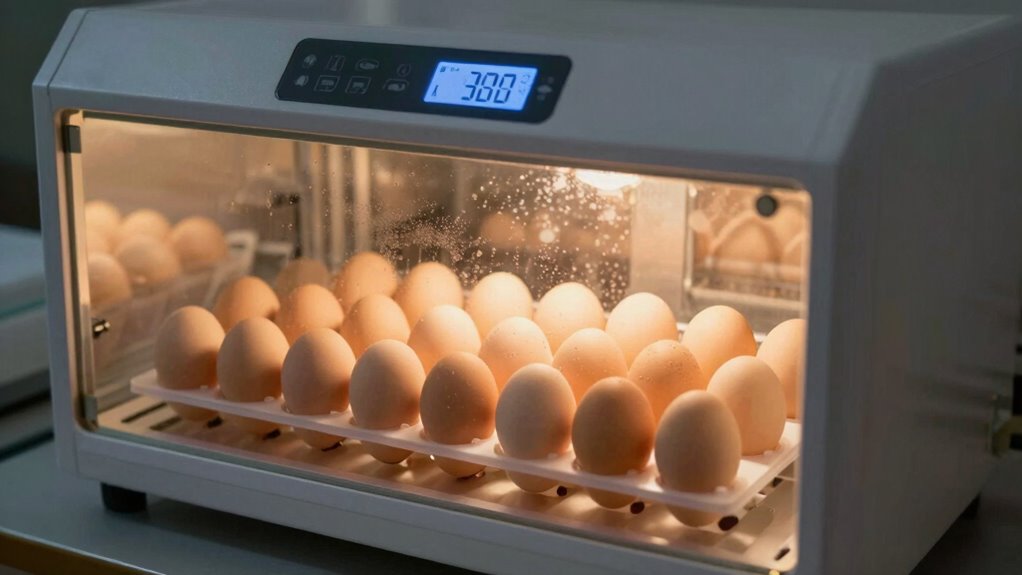
How to Set Up Your Incubator: Temperature and Humidity Tips
Setting up your incubator correctly is key to successful hatching. First, verify your incubator is thoroughly sterilized to prevent bacteria from harming eggs. Maintain the recommended temperature, usually around 99.5°F, and keep humidity levels steady. Regularly check and adjust these settings, especially if you notice fluctuations. Before placing eggs inside, perform egg candling to inspect fertility and remove any infertile or damaged eggs. Proper egg positioning also promotes even development. Use a reliable thermometer and hygrometer to monitor conditions closely. Consistent temperature and humidity help embryos develop healthily. Remember to avoid opening the incubator unnecessarily, as this can disrupt humidity and temperature. Proper setup creates an ideal environment, increasing your chances of a successful hatch. Additionally, incorporating a reliable temperature control system can help maintain stable conditions throughout incubation, which is essential for successful hatching. Ensuring your incubator has a quality insulation also minimizes temperature fluctuations and enhances overall stability during incubation. Regularly monitoring and adjusting these factors can help prevent issues related to temperature fluctuations and improve hatch rates. Using digital monitoring devices can further enhance your ability to maintain optimal conditions and catch problems early.
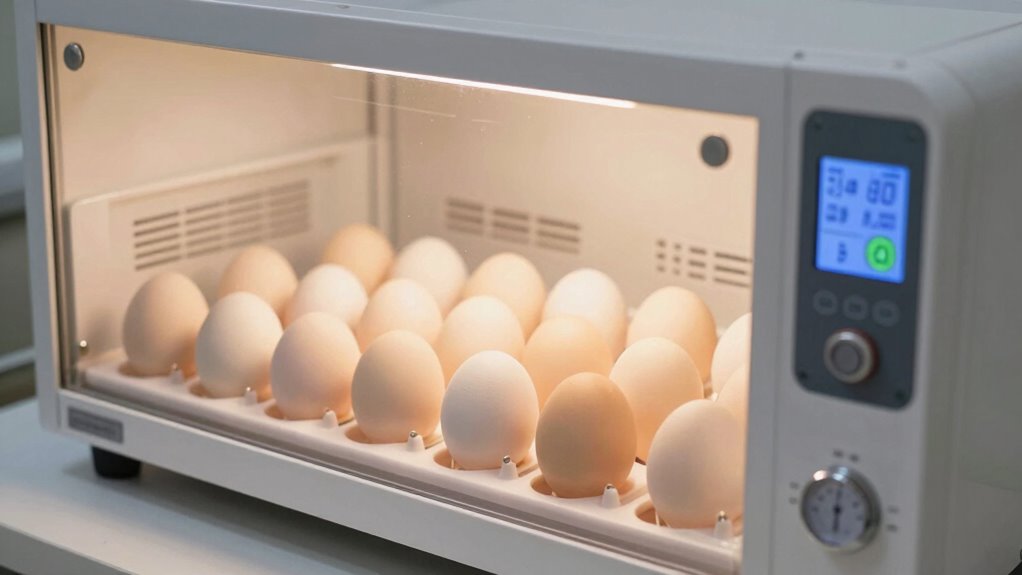
What Are the Best Conditions for Egg Incubation? Managing Temperature and Humidity
Maintaining the right temperature and humidity levels is vital for successful incubation, as these conditions directly influence embryo development. Keep the temperature steady around 99.5°F (37.5°C) and monitor humidity to stay between 50-55%, increasing slightly during hatch. Regular egg turning—about three to five times daily—ensures even heat distribution and prevents the embryo from sticking to the shell. Proper egg turning also reduces the risk of deformities. Additionally, incubator cleaning is indispensable; a clean environment prevents mold and bacteria, which can harm developing embryos. Before setting eggs, thoroughly disinfect the incubator, and routinely check and clean it during incubation. Incubator hygiene is crucial for preventing contamination and promoting successful hatch outcomes. To optimize conditions, temperature regulation devices can help maintain consistent heat levels throughout incubation. Consistently monitoring and adjusting these parameters is essential for successful hatching, and implementing climate control measures can further improve hatch rates. For example, ensuring proper ventilation helps maintain optimal oxygen levels, supporting healthy embryo growth. Leading to healthier embryos and a higher hatch rate.
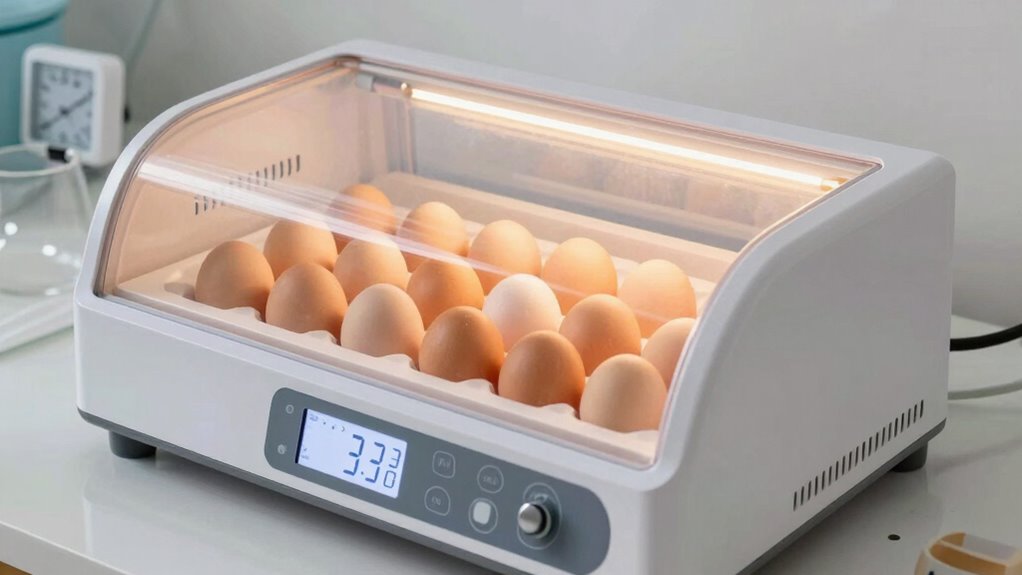
How Long Does Incubation Take? Timing Your Hatch
Understanding how long incubation takes helps you plan your hatch effectively. Typically, incubation lasts about 21 days for chicken eggs, but it can vary slightly depending on the species. During this period, consistent egg turning is essential—at least three times daily—to prevent the embryo from sticking and ensure even heat distribution. Proper incubator sterilization before use minimizes bacteria and molds that could harm developing embryos. As the days progress, monitor temperature and humidity carefully, and avoid unnecessary disruptions. Maintaining ideal conditions and routine egg turning is crucial for a successful hatch; consistent monitoring can help you catch issues early. The timing of hatch can be predicted based on the incubation period, but patience is key. By maintaining ideal conditions and routine egg turning, you’ll increase your chances of a successful hatch within the expected timeframe. Regular checks for auditory feedback can also help identify potential issues early, ensuring optimal development conditions.
What Are Common Incubation Problems and How Can You Fix Them?
You might encounter issues like temperature fluctuations that disrupt proper development, or humidity levels that are too high or low, affecting hatch success. Incorrect turning practices can also harm the embryo’s growth. Understanding these common problems helps you take quick, effective steps to keep your incubation on track. Additionally, maintaining consistent monitoring and adjusting settings based on precious metal market trends can improve your overall success rate. Regularly checking and calibrating your incubator’s temperature controls ensure stable conditions and prevent unexpected fluctuations. Being aware of incubator calibration practices can also help you identify early signs of malfunction before significant issues arise. Proper humidity regulation is crucial for optimal hatch rates, and using reliable tools can assist in maintaining ideal conditions. Monitoring humidity levels closely helps prevent issues caused by improper moisture balance, which can lead to poor hatch outcomes.
Temperature Fluctuations Disrupt
Temperature fluctuations are one of the most common problems that can disrupt successful incubation. When the climate control isn’t consistent, eggs become stressed due to their sensitivity to temperature changes. Even small fluctuations can cause developmental delays or embryo mortality. To prevent this, regularly check your incubator’s thermometer and heater to guarantee stable heat levels. Avoid opening the incubator unnecessarily, as this can cause temperature drops. Use a reliable thermostat to maintain a steady environment, and consider placing the incubator on a stable, level surface. Proper climate control minimizes sudden temperature shifts, protecting your eggs from stress and increasing hatch success. Remember, consistent temperature is key to keeping eggs safe and ensuring healthy hatchlings. Maintaining proper climate control is essential for successful incubation and healthy hatchlings.
Humidity Level Imbalances
Maintaining proper humidity levels is just as essential as controlling temperature during incubation. If dampness levels are too high or too low, it can cause problems like poor embryo development or cracked shells. Moisture control is key to ensuring healthy hatch rates. Common issues include overly humid environments, which lead to excess dampness and mold, or low humidity, causing dehydration. To fix these problems, you should regularly monitor humidity levels and adjust your incubator’s water trays or vents accordingly. Proper humidity management helps keep the right moisture balance and prevents problems during incubation. Additionally, using a reliable hygrometer can help you accurately track humidity levels and make necessary adjustments.
- Inconsistent dampness levels that cause eggs to crack or stick
- Mold growth from excessive moisture
- Shriveling due to too little humidity
- Egg shell softening or cracking
- Uneven hatch timing from humidity fluctuations
Incorrect Turning Practices
Have you ever noticed uneven hatch rates or eggs that stick together? That’s often caused by incorrect turning practices. Proper egg turning is essential because it prevents the yolk from sticking to the shell and promotes even development. If you neglect to turn eggs regularly, or if your rotation is inconsistent or improper, embryos can become misaligned or stick to the shell, leading to lower hatch success. Aim to turn eggs at least 3-5 times daily, ideally every few hours, to mimic natural incubation. Be gentle during each turn to avoid damaging the embryo. Avoid improper rotation techniques, like turning eggs too quickly or not enough. Consistent, gentle egg turning ensures healthy development and higher hatch rates.
Tips to Improve Your Hatch Rate and Ensure Successful Brooding
Achieving a high hatch rate and successful brooding requires careful attention to several key factors. First, select eggs with good egg quality, as this directly impacts hatch success. Understand that genetic factors also influence the likelihood of healthy chicks, so choose reputable breeders. Maintain precise temperature and humidity levels in your incubator, and avoid sudden fluctuations. Proper egg handling, such as gentle turning and cleanliness, further boosts hatch rates. Lastly, monitor incubation conditions daily to catch issues early. Additionally, avoiding counterfeit products and ensuring your incubator components are authentic can prevent malfunctions that negatively affect hatch success.
Frequently Asked Questions
How Does External Weather Affect Incubator Conditions?
External weather profoundly impacts your incubator conditions through weather impact and ambient fluctuations. As temperatures and humidity levels change outside, they can cause your incubator’s internal environment to fluctuate if it’s not well-insulated or climate-controlled. You need to monitor and adjust settings regularly to counteract these effects, ensuring consistent temperature and humidity for successful incubation. Proper insulation and placement help minimize the weather impact, keeping hatch conditions stable.
Can Different Bird Species Require Different Incubation Settings?
Like a tailor customizing a suit, you need to account for species-specific needs for different bird eggs. Yes, different bird species require incubation variability in temperature, humidity, and duration to hatch successfully. For example, waterfowl need higher humidity, while songbirds prefer lower. Adjusting your incubator settings to match each species’ unique requirements ensures healthy hatchlings and increases hatch rates, making your efforts as precise as a master craftsman.
What Are the Signs of a Successful Hatch?
You’ll know your hatch is successful when you see movement inside the egg during egg candling, indicating the embryo is developing properly. As the hatch approaches, the eggshell may become slightly cracked or show signs of pipping. During egg candling, look for a darkened, well-defined air cell and a visible blood vessel network. These signs confirm that your chicks are on track to hatch healthy and strong.
How Often Should I Rotate the Eggs During Incubation?
Imagine your eggs are dancers needing the perfect spin to stay balanced—so you should rotate them about 3-5 times daily. Regular egg turning prevents the embryo from sticking to the shell, which is why maintaining good incubator hygiene is vital. Keep the incubator clean and handle eggs gently. Consistent turning ensures even heat distribution, boosting hatch success. Don’t forget, a disciplined routine makes all the difference!
What Are Advanced Techniques for Optimizing Hatch Rates?
To enhance hatch rates, focus on genetic selection for resilient breeds and utilize incubation automation for precise control. Regularly monitor and adjust temperature and humidity settings through automated systems to reduce errors. Incorporate advanced techniques like airflow management and egg position tracking to improve hatch success. These strategies help create ideal conditions, increase hatchability, and ensure healthier chicks.
Conclusion
Mastering egg incubation might seem like a task from the days of ancient Egypt, but with the right balance of temperature and humidity, you can hatch success today. Keep a close eye on your incubator, adjust as needed, and don’t rush the process. Remember, patience and attention are key—just like the diligent farmers of old. With these tips, your hatch will be smooth, and you’ll soon be marveling at new life, as timeless as the pyramids themselves.