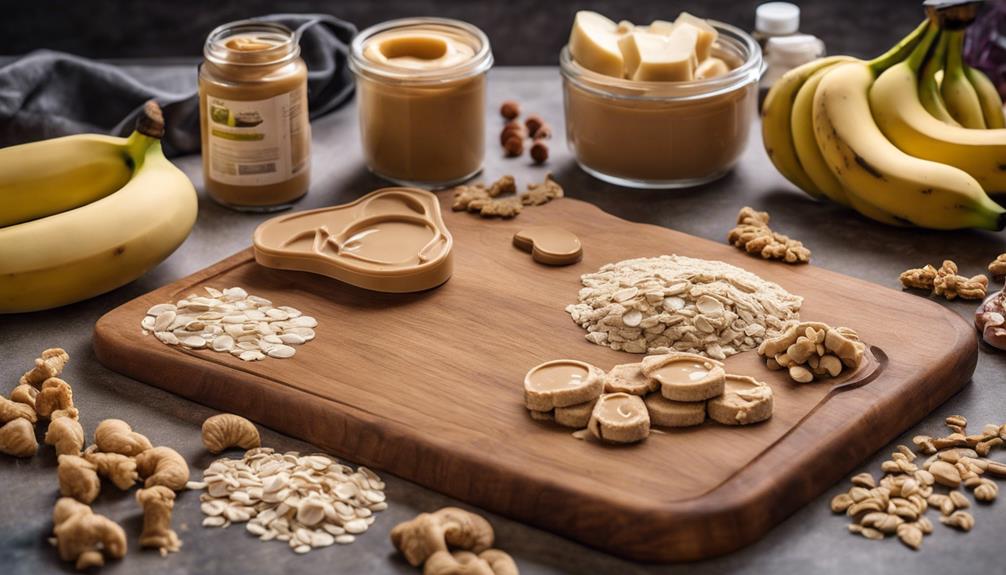

When creating our own homemade dog training treats, we blend oat flour, peanut butter, eggs, and pumpkin puree to achieve a wholesome and flavorful outcome. Initially, combine peanut butter, oat flour, eggs, and pumpkin puree until it forms a dough-like consistency. Next, evenly roll out the dough for the perfect texture. Supplementing oat flour and applesauce enhances the treats, making them more nutritious and delicious, ultimately benefiting the well-being of our beloved furry companions.
Mixing all the ingredients and shaping the dough into small bites before baking at 350°F until golden creates a flavorful and wholesome reward. Storing them in an airtight container helps maintain freshness. Start creating these treats for your furry companion!
Key Takeaways
- Select nutritious ingredients like oat flour and pumpkin puree.
- Combine peanut butter, oat flour, and applesauce for a tasty base.
- Mix ingredients for a healthy and flavorful treat dough.
- Bake treats at 350°F until golden for optimal results.
- Store in airtight containers or freeze for longer shelf life.

PROZAR Dog Car Seat Cover for Back Seat, Hard Bottom Back Seat Extender for Dog, Back Seat Pet Cover for Dogs - Supports 400lbs, Waterproof Heavy Duty Scratch Dog Hammock for Car SUV and Small Truck
Sturdy Hard Bottom and 400 LBS Load-Bearing: The backseat dog hammock features a hard bottom that supports up...
As an affiliate, we earn on qualifying purchases.
Ingredients for DIY Dog Training Treats
When crafting homemade dog training treats, we carefully select key ingredients like oat flour, peanut butter, eggs, and pumpkin puree for their nutritional value and palatability to our canine companions.
Oat flour serves as a wholesome base, offering fiber and essential nutrients beneficial for our furry friends' digestion and overall health.
Peanut butter, a favorite among dogs, not only enhances the flavor profile but also acts as a binding agent in the treat recipes, helping to maintain the desired shape and texture.
The inclusion of eggs provides a source of protein, contributing to muscle development and energy levels, essential for effective training sessions.
Finally, pumpkin puree adds moisture and fiber to the treats, improving their texture and providing additional nutrients to support our dogs' well-being.

Mancro Dog Car Seat Cover for Back Seat, 2026 Upgraded 600D Heavy Duty Waterproof & Scratch-Resistant Dog Hammock for Car, Back Seat Pet Cover for Dogs with Sedan, Trucks and SUVs, Standard, Black
Waterproof & Scratch-Resistant: Mancro dog car seat cover for back seat crafted from durable 600D materials(2026 upgraded), providing...
As an affiliate, we earn on qualifying purchases.
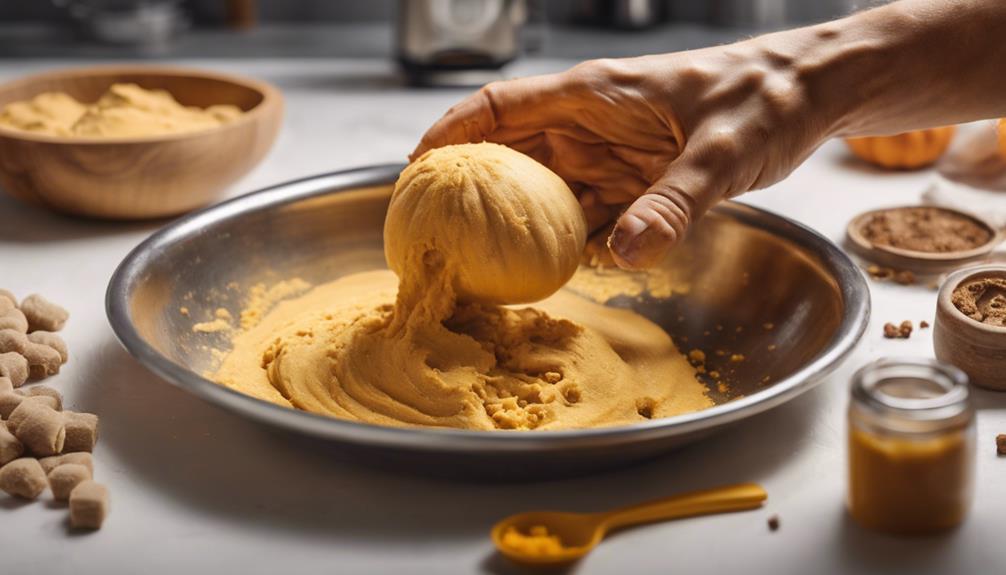
Preparation of Peanut Butter Base
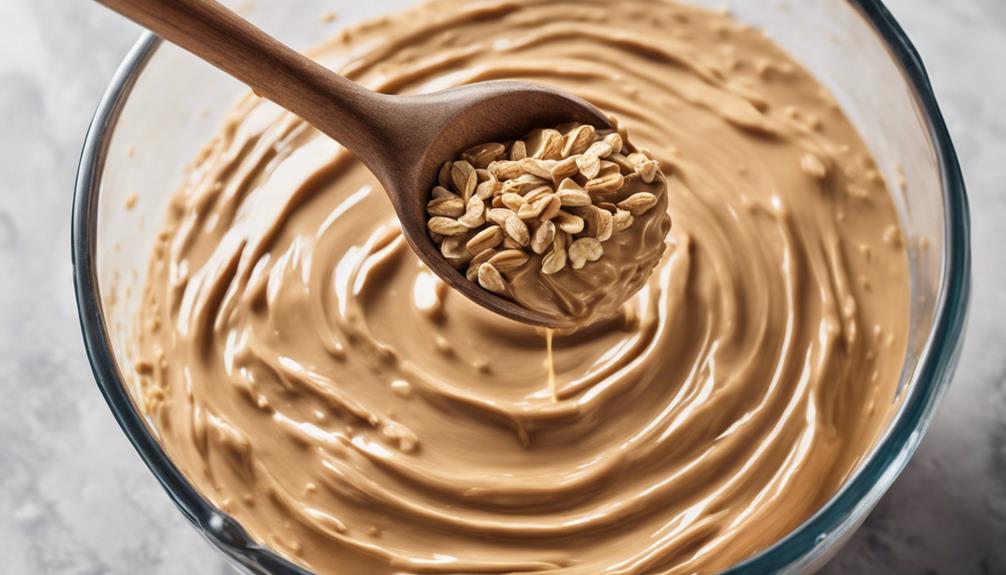
To prepare the peanut butter base for the DIY dog training treats, we combine peanut butter, oat flour, applesauce, and water or broth in a mixing bowl. Using a spatula, we mix the ingredients thoroughly until a dough-like consistency is achieved. This step is important as it guarantees that the treats hold together well during baking.
The peanut butter provides a rich flavor that dogs love, while the oat flour adds a nutritional boost. The applesauce not only adds moisture to the mixture but also contributes natural sweetness without the need for added sugar. The addition of water or broth helps bind the ingredients together, resulting in a cohesive dough.
Once the ingredients are well combined, we roll out the dough evenly with a rolling pin to about 1/4 inch thickness. This thickness ensures that the treats bake evenly and achieve the desired texture. Cutting the dough into small squares or shapes using a pizza cutter allows for uniform treats that are perfect for training purposes.

URPOWER Dog Car Seat Cover for Pets 100% Waterproof Seat Cover Hammock 600D Heavy Duty Scratch Proof Nonslip Durable Soft Back Seat Covers for Cars Trucks and SUVs
DOG HAMMOCK WITH SIDE FLAPS - URPOWER dog seat cover with side flaps can protect not only your...
As an affiliate, we earn on qualifying purchases.
Incorporating Oat Flour and Applesauce
Incorporating oat flour and applesauce guarantees both the nutritional value and taste profile of our DIY dog training treats recipe.
Oat flour, derived from ground rolled oats, serves as a nutritious alternative to regular flour in homemade treats, offering fiber and essential nutrients for your furry friend. This ingredient contributes to a healthier snack option, supporting your dog's well-being during training sessions.
Additionally, applesauce, a sugar-free component, not only adds moisture but also introduces a hint of natural sweetness to the treats. When combined, oat flour and applesauce form a flavorful and wholesome base that's both tasty and beneficial for your pet.
The inclusion of these ingredients guarantees that your dog receives a treat that isn't only delicious but also packed with nutritional goodness, making it a perfect choice for rewarding positive behavior during training. Homemade treats made with oat flour and applesauce are a fantastic addition to your dog's diet, offering a blend of health benefits and palatable flavors.

MYJAQI Back Seat Extender for Dogs, Waterproof Dog Car Seat Cover for Back Seat with Hard Bottom, 2026 Upgraded Material, Anti Scratch, Safer, Easy to Use and Clean, Holds 400lbs
𝐁𝐚𝐜𝐤 𝐒𝐞𝐚𝐭 𝐄𝐱𝐭𝐞𝐧𝐝𝐞𝐫 𝐟𝐨𝐫 𝐃𝐨𝐠𝐬 : Prevent your furry friend from sliding into the footwell during sudden stops,...
As an affiliate, we earn on qualifying purchases.
Adding Pumpkin Purée for Flavor
Adding pumpkin purée to dog training treats enhances their taste and provides various benefits.
Pumpkin is a nutritious ingredient packed with fiber, vitamins, and minerals that can aid in digestion and offer additional nutrients for your pet.
Incorporating pumpkin purée not only improves flavor but also adds moisture and texture to the treats, making them more appealing to your furry friend.
Enhancing Taste With Pumpkin
Enhancing the flavor of homemade dog training treats can be achieved by incorporating pumpkin purée, a nutritious and subtly sweet ingredient that's enjoyed by many dogs. Pumpkin isn't only flavorful but also offers nutritional benefits such as fiber, vitamins, and minerals, making it a healthy addition to your pet's diet.
Dogs often find the taste of pumpkin appealing, which makes it a popular choice for homemade treats. By adding pumpkin purée to your dog training treats, you can make them more enticing and flavorful for your furry friend. This ingredient not only enhances the taste but also provides a healthy twist to your homemade treats, ensuring your pet enjoys both the flavor and the health benefits.
Benefits of Pumpkin Addition
Shifting from the flavor aspect of using pumpkin in homemade dog training treats, the nutritional benefits of incorporating pumpkin purée extend beyond taste enhancement. Pumpkin offers various advantages that can contribute to your dog's overall well-being:
- Fiber: Pumpkin is rich in fiber, which can aid in digestion and support gastrointestinal health in dogs.
- Vitamins and Minerals: Pumpkin contains essential vitamins and minerals that are beneficial for your dog's health.
- Low Calories: With its low-calorie content, pumpkin is a suitable ingredient for dogs on a diet or with weight management needs.
Mixing and Forming the Treat Dough

Let's start by combining oat flour, peanut butter, applesauce, and water in a mixing bowl. Using a spatula, blend the ingredients until a dough forms, adjusting the consistency with more oat flour if needed.
Once the dough is ready, roll it out evenly with a rolling pin, cut it into small squares, and bake until golden for homemade dog training treats.
Combine Treat Ingredients
To create the dog training treats, start by combining peanut butter, oat flour, applesauce, and water/broth in a mixing bowl. Using a spatula, blend the ingredients until a dough forms. Adjust the dough consistency by adding more oat flour or liquid as needed.
Then, roll out the dough evenly with a rolling pin to the desired thickness. Finally, use a pizza cutter to cut the dough into small, bite-sized squares or shapes for treats.
- Use a spatula to blend the ingredients until a dough forms.
- Adjust the dough consistency by adding more oat flour or liquid as needed.
- Roll out the dough evenly with a rolling pin to the desired thickness.
Shape Into Small Bites
After blending the ingredients for the dog training treats, the next step is shaping the dough into small, uniform bites using a pizza cutter. This process guarantees consistency in treat size, perfect for training purposes.
Start by rolling out the dough evenly with a rolling pin to create a flat surface for cutting. Using a pizza cutter, slice the dough into small, bite-sized squares for your furry friend. This step is essential in making training treats that are easy to handle and feed during training sessions.
Place the shaped treats on a baking sheet lined with parchment paper to prevent sticking. By following these steps, you can effectively prepare the treats and set the stage for successful training sessions with your dog.
Bake Until Golden
How long should the treat dough be baked until it turns golden brown? Once you have shaped the homemade training treats into bite-sized pieces using a cookie cutter or knife, it's time to bake them until they reach a golden hue.
Here are some key steps to follow:
- Place the treat dough on a baking sheet lined with parchment paper to prevent sticking.
- Make sure the treats are evenly spaced on the baking sheet for uniform baking.
- Keep a close eye on the treats while they bake to avoid overcooking or undercooking.
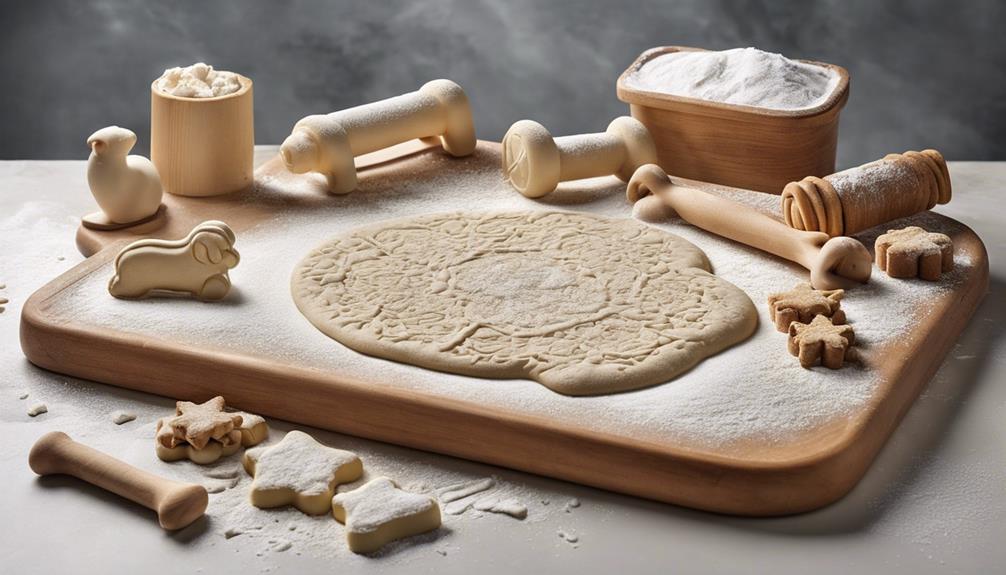
Cutting and Shaping the Treats

Using a pizza cutter, we slice the rolled-out dough into small, bite-sized pieces for our DIY dog training treats. This guarantees that the treats are uniform in size, making them ideal for training sessions where consistency is key.
When cutting the treats, aim for shapes like squares or small rectangles for easy handling. Consider your dog's breed and training goals to determine the appropriate size of the treats. Utilizing cookie cutters in shapes like hearts or bones not only adds a fun element but also makes the treats visually appealing.
Baking the Dog Training Treats
To achieve the best results when baking the dog training treats, make sure the oven is preheated to 350℉ for the finest outcome. Baking is an essential step in the process of creating homemade dog treats that are both delicious and healthy for your furry friend.
Here are some key tips to keep in mind while baking the treats:
- Place the shaped treats evenly on a baking sheet lined with parchment paper to guarantee even baking.
- Keep a close eye on the treats towards the end of the baking time to prevent them from burning.
- Allow the treats to cool completely before storing them to maintain their crunchy texture and flavors.
Storing and Serving the Homemade Treats
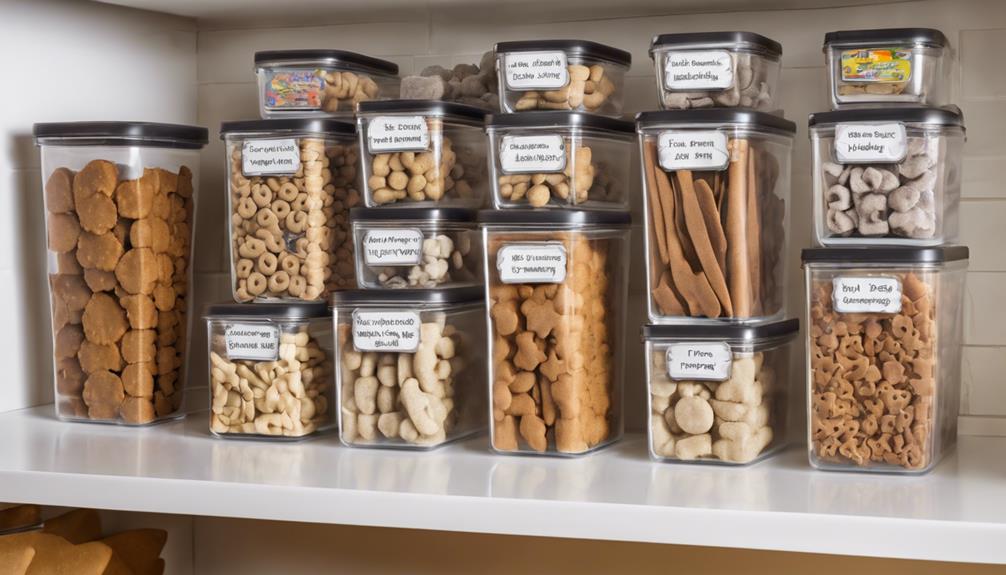
After baking the dog training treats, the next step involves properly storing and serving the homemade treats to maintain their quality and freshness.
It's crucial to store the homemade dog training treats in an airtight container to prevent spoilage and preserve their freshness. For short-term storage, keeping the treats in the refrigerator can maintain their quality for up to a week. If you want to extend the shelf life of the treats, freezing them is a great option, typically allowing them to last for up to 3 months.
Freezing homemade treats can help retain their texture and flavor over time. When you're ready to serve the frozen treats, remember to thaw them in the refrigerator to ensure ideal taste and quality.
Avoid leaving the homemade treats out at room temperature for extended periods to prevent bacterial growth and potential contamination. Proper storage and serving practices will help make sure that your dog enjoys fresh and delicious homemade training treats.
Frequently Asked Questions
How Do You Make Dog Training Treats?
We make dog training treats by combining ingredients like oat flour, peanut butter, and applesauce, rolling out the dough, cutting it into small squares, baking on parchment paper, and storing in the fridge or freezer for longer shelf life.
How Do You Make High Value Dog Treats?
We make high value dog treats by selecting irresistible options like cooked chicken, cheese, hot dogs, or freeze-dried liver. Experimenting with different treats helps find what motivates our dogs best. Their focus and enthusiasm during training sessions improve with these enticing rewards.
What Do Dog Trainers Use for Training Treats?
We use small, soft, and high-value treats for training our dogs. These treats are enticing, have a strong aroma, and a soft texture for quick consumption. Size matters too; bite-sized treats are ideal for frequent rewards without overfeeding.
What Are Dog Training Treats Made Of?
Dog training treats are typically made with ingredients like peanut butter, oat flour, applesauce, water or broth, and sometimes pumpkin puree for variation. It's important to avoid xylitol in peanut butter.
What Makes Your DIY Dog Training Treats Recipe Stand Out from The Ultimate Dog Training Treats Recipe Guide?
Discover what sets your DIY dog training treats recipe apart from the rest with this comprehensive guide. With expert tips and insights, you can take your homemade treats to the next level and create a recipe that outshines the ultimate dog training treats recipe. Treat your furry friend to the very best!
Conclusion
To sum up, making your own DIY dog training treats is like crafting a masterpiece for your furry companion.
With a few simple ingredients and a little bit of love, you can whip up a batch of delicious and nutritious treats that will have your pup begging for more.
So why not treat your best friend to something special and make their training sessions even more enjoyable with these homemade goodies?
Your pup will thank you with wagging tails and enthusiastic obedience.