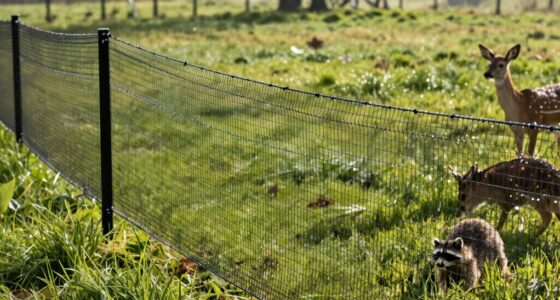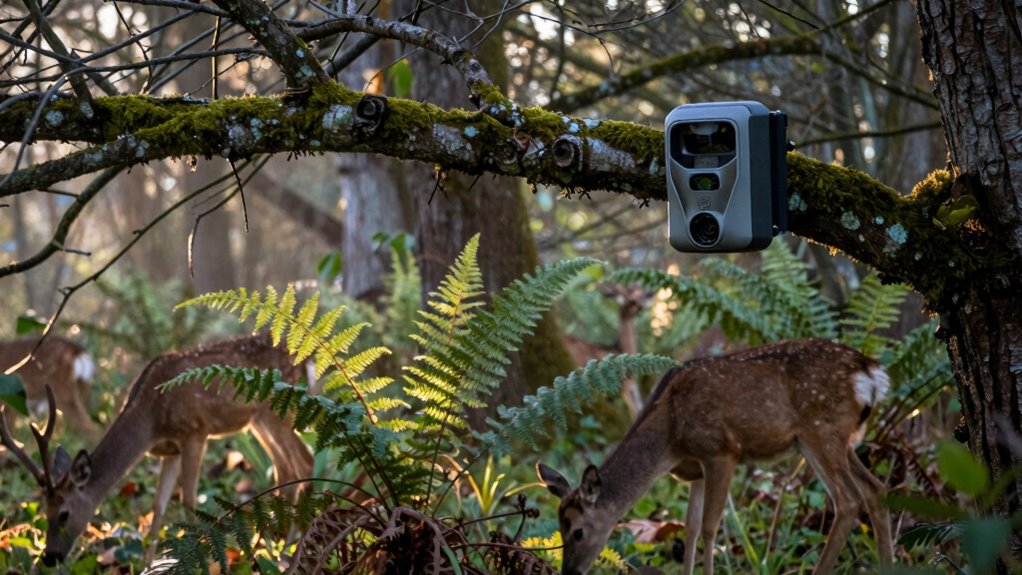

To get clear deer shots, place your wildlife camera along well-used trails, at trail intersections, and near water sources where they gather. Mount it at deer eye level, blending it with natural cover like foliage or logs to avoid spooking them. Position lenses to minimize glare and shadows, and use landmarks for precise placement. With careful setup and concealment, you’ll capture authentic behavior. Keep exploring to learn more about optimizing your camera setup effectively.
Key Takeaways
- Place cameras along well-worn deer trails, especially at intersections, crossings, and natural funnels for clear behavioral shots.
- Position near water sources where deer gather, capturing drinking, grooming, and social interactions.
- Mount cameras at eye level (3-4 feet) to capture facial features and body language clearly.
- Use natural cover and camouflage techniques to conceal cameras, minimizing deer disturbance and improving image quality.
- Focus on high-traffic areas with landmarks like fallen logs or rocks to ensure comprehensive coverage of activity zones.

Meidase P70 (Non-Cellular,Non-WiFi) Trail Camera, 64MP 1296p, Game Cameras with No-Glow IR Night Vision, Motion Activated, Waterproof for Wildlife Deer Cams, Hunting
Crystal-Clear 64MP Photos & 1296p HD Video – Stunning detail day or night, thanks to advanced image tech…
As an affiliate, we earn on qualifying purchases.
As an affiliate, we earn on qualifying purchases.
Why Use Wildlife Cameras to Observe Deer
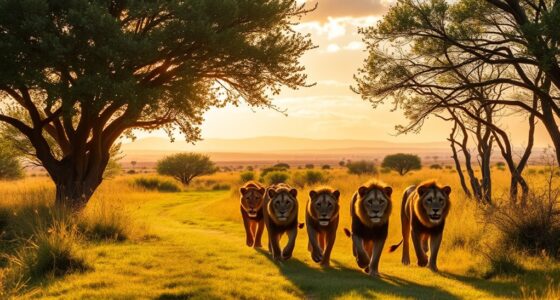
Wildlife cameras provide a simple and effective way to observe deer without disturbing their natural behavior. By setting up cameras, you can monitor how they respond to their environment, including their deer diet and predator awareness. These cameras help you see which plants or food sources they prefer and how they forage throughout the day. Additionally, they give insights into how alert deer are to potential threats, revealing their predator awareness. This non-intrusive method allows you to gather detailed, real-time data on their habits without chasing or approaching them. Proper placement of cameras can also improve image clarity, ensuring you capture the best possible footage. Using installation tips from reliable sources can further enhance your results. Careful positioning can also help you avoid common issues like camera blind spots, ensuring a comprehensive view of the area. Additionally, considering the natural deer movement patterns can help optimize camera placement for better visibility. Recognizing the importance of seasonal variations in deer activity can further refine your setup, leading to more accurate observations. As a result, you gain a clearer understanding of their daily routines, feeding patterns, and cautious behavior, all valuable for studying and managing local deer populations.

WOSODA Mini Trail Camera 4 Pack 24MP 1080P HD, Game Cam with SD Card, Waterproof Tiny Deer Camera Night Vision Motion Activated with Fast Trigger Time for Outdoor Wildlife Monitoring
24mp photo & 1080p video: This mini trail camera captures 24MP clear images and full HD 1080P video…
As an affiliate, we earn on qualifying purchases.
As an affiliate, we earn on qualifying purchases.
Understanding Deer Habitats and Travel Routes
Understanding where deer live and how they move through their environment is essential for effective observation and management. Recognizing their habitat and travel routes helps you position your wildlife cameras for clearer shots. Deer tend to feed in specific areas, such as lush clearings or near water sources, which are key spots to monitor. They often follow well-worn trails connecting feeding sites to bedding areas. Habitat preservation maintains these natural travel corridors, making your camera placement more successful. To visualize, consider:
Knowing deer habitats and trails improves your wildlife camera placement and observation success.
- Narrow game trails winding through dense woods
- Quiet water edges where deer drink
- Open clearings during feeding times
- Natural funnels formed by terrain or vegetation
- Maintaining these natural travel corridors ensures consistent deer movement within your camera’s view. Additionally, understanding deer habitat preferences can improve your chances of capturing high-quality images. Recognizing deer movement patterns can help you anticipate their locations during different times of day or seasons. Being attentive to seasonal changes in deer behavior is also vital for optimal camera placement and timing.

KJK Trail Camera 36MP 2.7K, Mini Game Camera with Night Vision 0.1s Trigger Time Motion Activated 130°Wide-Angle, Waterproof Trail Cam with 2.0” HD TFT Screen, Hunting Camera for Wildlife Monitoring
【Ultra-clear Photos and Videos】36MP Still Images & 2.7K Videos. Thanks to premium optical lens and an advanced image…
As an affiliate, we earn on qualifying purchases.
As an affiliate, we earn on qualifying purchases.
How to Identify Deer Trails and Key Signage

Deer trails are often the most obvious signs of their movement patterns, making them essential cues for placement of your wildlife cameras. Look for narrow, worn paths through grass or brush, often crossing your property. Key signage includes tracks, droppings, rubbed trees, and bedding areas. Pay attention to deer vocalizations—grunts, snorts, and bleats—which can indicate nearby activity. Seasonal movement also influences trail use; in fall, they travel to rutting grounds, while in winter, trails may be concentrated near food sources. To identify these signs effectively, observe the terrain for natural pinch points or crossings that deer prefer. Use this table to help recognize key trail features:
| Trail Sign | Description | Seasonality |
|---|---|---|
| Tracks | Hoof prints in soft ground | Year-round; denser in snow |
| Rubs | Marked trees from antler rubbing | Late summer to fall |
| Signage | Bedding areas and scrapes | Varied seasonally |
Additionally, observing the natural habitat and its features can greatly aid in predicting deer movement patterns. Recognizing the deer movement in relation to landscape features can improve your camera placement. Being aware of deer activity times and locations can help refine your observation strategy.
Meidase P70 (Non-Cellular,Non-WiFi) Trail Camera, 64MP 1296p, Game Cameras with No-Glow IR Night Vision, Motion Activated, Waterproof for Wildlife Deer Cams, Hunting
Crystal-Clear 64MP Photos & 1296p HD Video – Stunning detail day or night, thanks to advanced image tech…
As an affiliate, we earn on qualifying purchases.
As an affiliate, we earn on qualifying purchases.
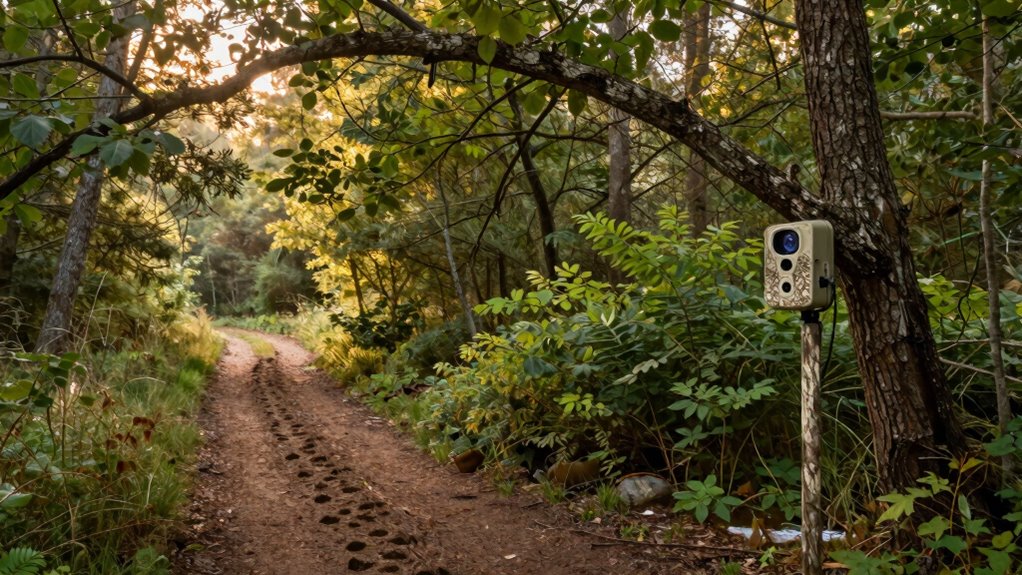
Best Spots to Set Up Your Camera Near Trails and Trails Crossings

To maximize your chances of capturing deer activity, place your camera along well-used trails and at crossings where deer are likely to pass. Position the camera at a deer’s eye level for clearer shots, and guarantee it’s secure to prevent disturbance. Regular camera maintenance is essential to keep the lens clean and functioning smoothly. Be mindful of wildlife ethics by avoiding over-setup or intrusive placements that could stress animals. Consider these ideal spots:
Place your camera along well-used trails at deer eye level for clearer, ethical wildlife photos.
- Narrow trail intersections where animals naturally cross paths
- Shaded trail segments to reduce glare and improve image quality
- Along steep ridges or dips where deer congregate for safety or travel routes
- Near trail crossings at natural or man-made barriers to observe crossing behavior
- Proper camera placement can help reduce stress caused by intrusive setups or disturbances near wildlife. Additionally, understanding deer movement patterns can significantly increase your chances of capturing authentic behavior and activity. It’s also beneficial to use herbal infusion techniques to keep your equipment in optimal condition, ensuring clear and consistent results. Using camera positioning strategies can further enhance the quality of your footage and observations.
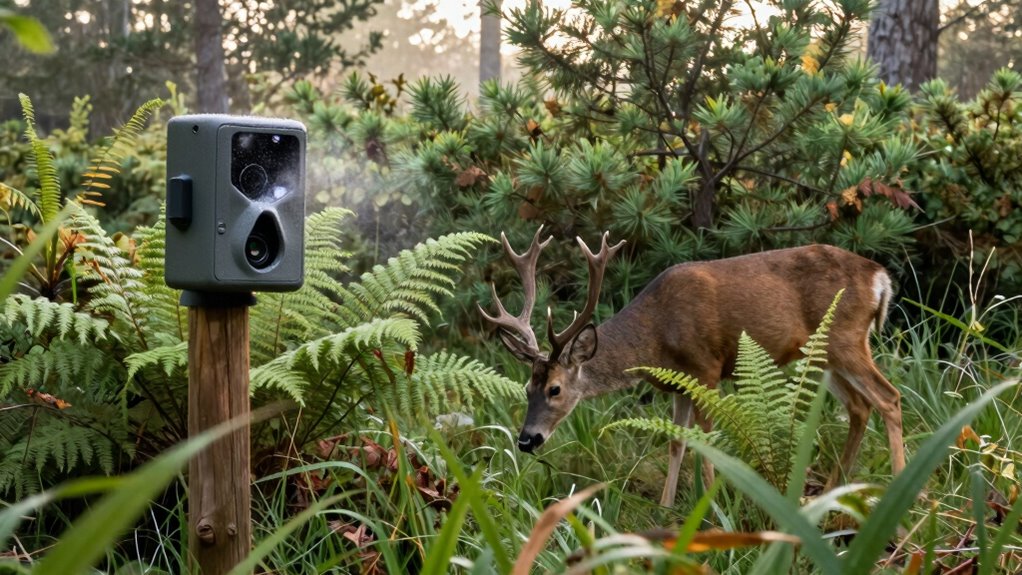
Why Place Cameras Near Water Sources for Natural Behavior

Deer are naturally drawn to water sources, making them prime spots to observe their behavior. Placing your camera nearby can capture moments triggered by water attraction and daily routines. This placement not only provides authentic footage of deer in their natural environment but also increases the likelihood of capturing behavior patterns related to water access, helping you better understand their habits. Additionally, focusing on water sources can reveal other species interactions that occur around these vital resources, enriching your overall wildlife observation. Recognizing the importance of animal instincts can further enhance your understanding of why deer frequent these areas. Understanding natural behaviors in relation to water sources can also assist in predicting deer movement and activity periods. Incorporating wildlife movement patterns into your placement strategy can maximize your observation success.
Water Source Attraction
Placing cameras near water sources is essential because these areas naturally attract wildlife, offering a reliable spot to observe their behavior. Deer visit water regularly, especially during hot months or dry seasons, aligning with their seasonal movements and dietary needs. Water sources also draw other animals, increasing your chances of capturing diverse species. Imagine deer stepping into the shot, lowering their heads to drink, or pawing at the water’s edge. These moments reveal crucial insights into their daily routines. You might see them grooming after drinking or moving cautiously around the water. Water spots act as natural gathering points, making them ideal for consistent footage. Additionally, camera placement is vital for maximizing visibility and ensuring you capture high-quality footage of wildlife in their natural habitat. Proper baiting techniques can further attract animals to these spots, enhancing your observation opportunities.
Natural Behavior Triggers
Water sources naturally trigger instinctive behaviors in deer and other wildlife, making these spots ideal for capturing authentic actions. When you place your camera near water, you’ll observe natural behavior triggers like drinking, grooming, and social interactions. Deer vocalizations often increase around these areas, especially during breeding seasons, revealing seasonal behavior patterns. These vocalizations help you identify rutting activity or communication among deer. Additionally, water sources attract wildlife at different times of the year, offering a dynamic range of behaviors to document. By positioning your camera here, you’ll record genuine moments driven by natural instincts, providing insightful footage of deer in their habitat. This approach ensures you capture the most authentic deer behavior, making your observations both clear and compelling.
Choosing the Right Locations at Feeding and Scraping Areas

To get clear footage, focus on choosing spots with ideal camera angles that cover feeding and scraping sites without obstructing the view. Place your cameras strategically to avoid disturbing the deer and make sure they feel safe while approaching. Keep in mind that discreet placement helps prevent animals from noticing the camera and altering their behavior.
Optimal Camera Angles
Choosing the right camera angles at feeding and scraping areas is essential for capturing clear, detailed images of deer behavior. To do this, position your camera slightly above or at eye level to avoid distortion. Keep the camera lens selection in mind—wide-angle lenses can capture more activity, while telephoto lenses focus on specific behaviors. Adjust angles to minimize glare and shadows, ensuring sharp images. Consider the natural pathways deer use, and angle your camera along these routes for the best shot. Also, optimize battery life by setting the camera to conserve power during inactive periods. Remember, well-chosen angles not only improve image quality but also reduce the need for frequent adjustments. Visualize deer approaching from different directions and plan your angles accordingly.
- Deer walking along natural trails, heads lowered at feeding sites
- Camera capturing a wide view of feeding or scrape areas
- Shadows cast across the scene at different times of day
- Deer approaching from various directions, highlighting the importance of versatile angles
Strategic Placement Tips
Effective placement of your wildlife camera hinges on selecting the right locations at feeding and scraping sites. Position your camera where deer naturally congregate, such as near trails leading to feeding areas or around scrapes they create. Look for signs like fresh rubs or tracks to identify high-traffic spots. Keep camera maintenance simple by choosing accessible spots for regular checks, preventing unnecessary disturbance. Respect wildlife ethics by minimizing your presence and avoiding areas that could stress the animals. Use natural cover like bushes or trees to conceal the camera, ensuring it blends seamlessly into the environment. Proper placement not only captures clear shots but also promotes ethical wildlife observation, allowing deer to behave naturally without feeling threatened.
Avoiding Disturbance
When selecting locations for your wildlife camera at feeding and scraping sites, it’s essential to minimize your presence to avoid startling the deer. Human disturbance can quickly scare deer away, making it harder to get clear shots. Adjust your camera sensitivity to prevent false triggers caused by wind or small movements. Position the camera far enough from active areas so deer don’t feel threatened. Use natural cover to hide the camera, blending it into the surroundings. Avoid placing cameras directly on trails or feeding stations where deer congregate, as this can cause them to avoid the area. Instead, set up at a slight angle or behind natural barriers to reduce disturbance and increase the likelihood of capturing natural behavior.
How to Position Your Camera in Dense Cover Without Spooking Deer
Positioning your camera in dense cover requires careful attention to avoid startling the deer. To do this, choose a spot where natural concealment is abundant but the camera remains hidden from view. Keep it at a slight angle to the trails or feeding areas, so it doesn’t look directly at the movement. Regular camera maintenance is essential; check batteries and memory cards often to ensure continuous wildlife photography without disturbance. Use natural elements like branches or foliage to camouflage the camera, blending it seamlessly into the environment. Avoid placing it directly on the ground or too high, which can seem unnatural. Patience is key—observe the deer’s behavior and adjust your camera’s position gently to prevent spooking them, ensuring clear, undisturbed shots.
Tips for Mounting Cameras at Deer Eye Level for Clear Shots
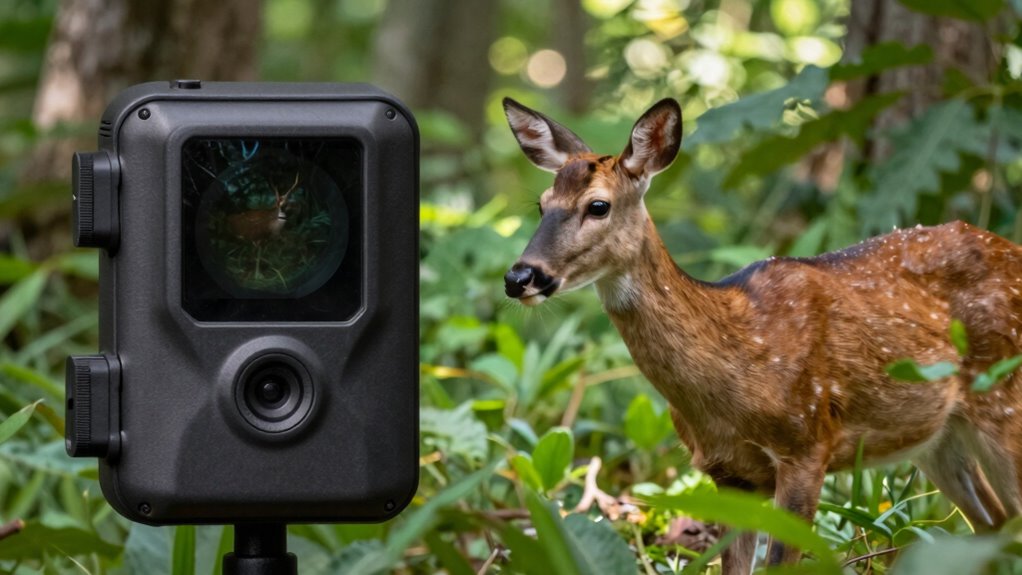
To get clear shots, mount your camera at deer eye level, roughly 3 to 4 feet off the ground. Use natural cover like branches or tall grass to hide the camera and keep it from spooking animals. This setup guarantees you capture authentic, unobstructed footage.
Optimal Eye-Level Height
Mounting your wildlife camera at deer eye level makes certain you capture clear, detailed shots that truly reflect their perspective. The ideal camera height aligns with the deer’s eye level, typically around 3 to 4 feet off the ground. This height ensures your images include facial expressions and body language, providing a more natural view of their behavior.
Imagine:
- A camera positioned at a height that matches the deer’s gaze, offering intimate, eye-to-eye photos.
- Shots that reveal fine details like nose textures and eye movements.
- Clearer images of deer as they approach naturally, without distortion.
- Better understanding of their habits by capturing their natural stance and interactions.
Adjust your camera height accordingly to maximize clarity and authenticity in your deer observations.
Use Natural Cover
Using natural cover is essential for mounting your camera at deer eye level without alarming them. By leveraging camouflage techniques, you blend your camera seamlessly into the environment, making it less noticeable. Look for natural concealment such as bushes, tree branches, or tall grass to hide your device. Position the camera behind or within these cover elements, ensuring it remains discreet while still capturing clear shots. Avoid open areas where the camera might stand out or catch the deer’s attention. Use natural cover to create a subtle presence, encouraging deer to move naturally into the frame. This approach not only prevents disturbance but also improves image quality by reducing shadows and glare. Ultimately, natural concealment helps you observe deer authentically and with minimal interference.
Using Landmarks and Lighting to Optimize Camera Angles

When setting up wildlife cameras for deer observation, paying attention to landmarks and lighting can make a significant difference in capturing clear, useful footage. Use natural features like fallen logs, tree stumps, or rock formations to guide your camera’s angle. Good lighting, especially during dawn and dusk, highlights movement and enhances image clarity. To maximize your shots, consider selecting a camera lens suited for wide angles, ensuring broad coverage of landmarks. Position the camera to avoid harsh shadows that can obscure details. Adjust placement to minimize battery drain, as strategic positioning reduces unnecessary movement and saves power. Keep these tips in mind:
- Align the camera with prominent landmarks for easy reference
- Use natural light to enhance visibility during low-light hours
- Select appropriate lens settings for wider coverage
- Position the camera for optimal battery life and minimal disturbance
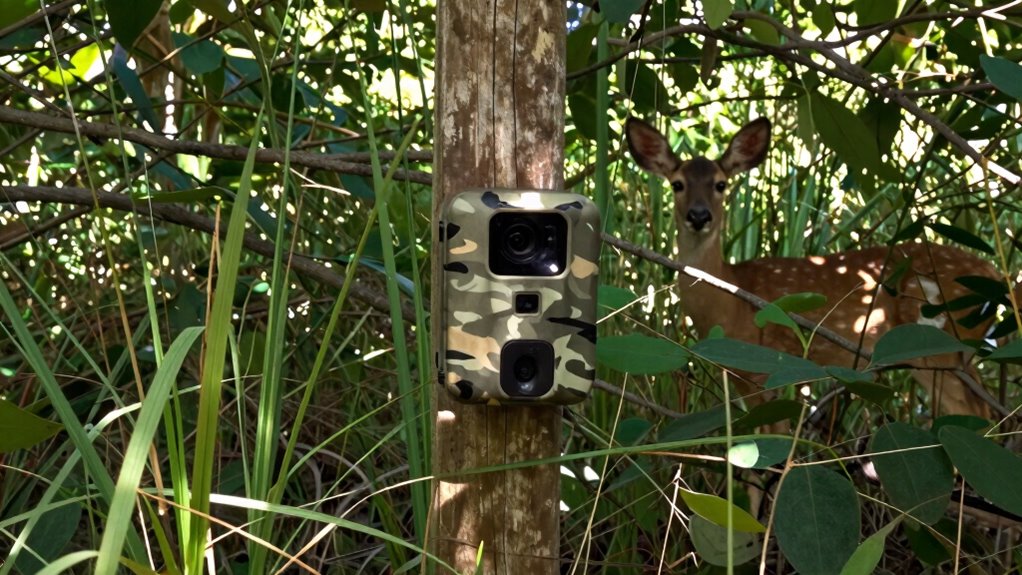
Camouflage and Gentle Setup Tips to Minimize Disturbance
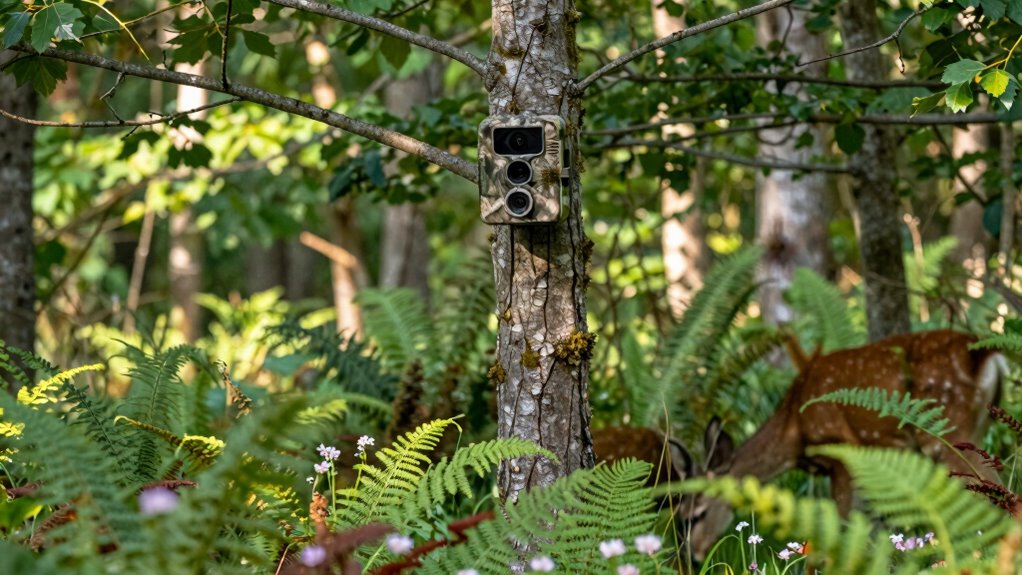
To prevent deer from noticing your camera, focus on blending it seamlessly into the environment. Use camouflage techniques like camo tape, natural foliage, or paint to match the surroundings. Position the camera low and angling slightly downward, mimicking natural lines of sight. During the gentle setup process, handle the equipment carefully to avoid sudden movements or noise that could startle nearby animals. Opt for natural cover such as bushes or tree branches to hide the camera’s outline. Keep the device stable and secure to prevent vibrations or rustling sounds. Remember, a discreet, well-camouflaged camera that’s carefully installed minimizes disturbance, encouraging deer to move naturally through the area and providing clearer, more authentic shots.
Frequently Asked Questions
What Is the Best Time of Day to Capture Deer Activity?
You should capture deer activity during dawn and dusk when their movement patterns peak. During these times, deer are most active, increasing your chances of clear shots. To maximize results, place your camera along established trails or near feeding areas, ensuring ideal camera placement. This timing and strategic placement help you observe deer behavior when they’re most active, providing the clearest shots of their natural movement patterns.
How Do Weather Conditions Affect Camera Performance?
Weather’s like an artist’s brush, painting your camera’s performance with unpredictable strokes. Rain can cause camera condensation, blurring your shots, so choose weather-resistant models with good rain resistance. Humidity and temperature swings may fog lenses, affecting clarity. Keep your camera sheltered from harsh weather, and regularly check for condensation. This way, your device stays sharp, capturing clear images no matter how the weather tries to challenge your deer observation plans.
Can Cameras Be Used for Nighttime Deer Observation Effectively?
Yes, your wildlife camera can effectively observe deer at night. You’ll want to guarantee it has infrared illumination, which allows for clear, unobtrusive nighttime images. Keep the camera lens clean and unobstructed to maximize clarity, especially in low-light conditions. Proper placement is key—aim it at deer trails or feeding areas—so you get the best shots with minimal disturbance and sharp detail, even in complete darkness.
What Are Common Mistakes to Avoid When Setting up Cameras?
When setting up your wildlife cameras, avoid poor camera placement that results in blurry or obstructed shots. Make sure to choose camera angles that cover natural deer paths without obstructions like branches or tall grass. Also, don’t place cameras too high or too low; eye-level positioning offers clearer images. Regularly check and adjust camera angles to guarantee peak coverage, preventing missed shots or blurry photos.
How Often Should I Check and Maintain My Wildlife Camera?
Be mindful of your camera’s maintenance schedule to maximize its performance. You should check your wildlife camera every few weeks, especially during peak activity seasons, to assess battery life and guarantee proper camera placement. Regular checks prevent battery drain, improve image quality, and keep the device functioning smoothly. Maintaining your camera regularly helps capture clear shots, avoids malfunctions, and keeps your wildlife observations consistent and reliable.
Conclusion
By thoughtfully placing your wildlife camera, you become a silent observer of the deer’s world, capturing their natural dance without disturbing their rhythm. When you choose the right spots—near trails, water, and in dense cover—you’ll open a window into their lives as clear as a mirror. Remember, patience and subtlety are your best tools; with careful setup, you’ll watch nature unfold like a story written in the quiet language of the wild.